Adding a Favicon in Next.js
Even something simple as adding a favicon to your Next.js website can get complicated. It’s not as easy as adding one favicon.ico file. Nowadays they come in many different types and sizes.
In this post I will show you a minimal setup of adding a favicon to your Next.js site. You can then expand on it according to your needs.
Adding Favicons
Before you start, make sure you have an image of size that is at least 260 pixels in width and height (it’s a square). Format is not important, you can use a .png, .jpg or .svg and so on.
Those are the requirements for RealFaviconGenerator — a tool that you can use to generate favicon in multiple formats from one image.
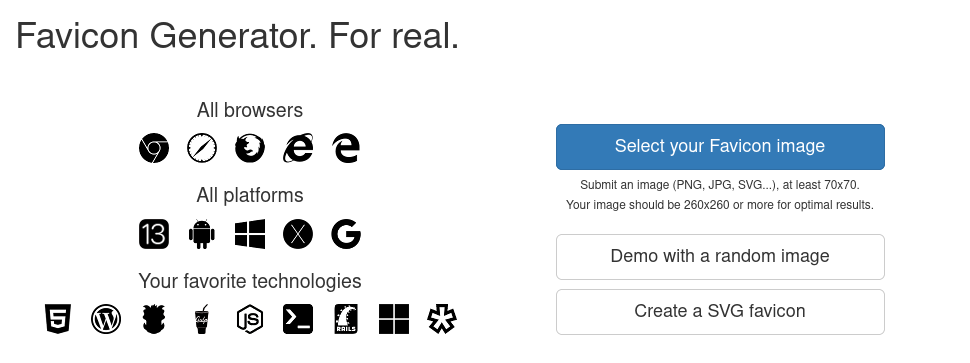
Using RealFaviconGenerator, select your source image and let it do the work.
After you have selected your image, you will see a page with a bunch of options like:
- Favicon for Android Chrome
- Windows Metro
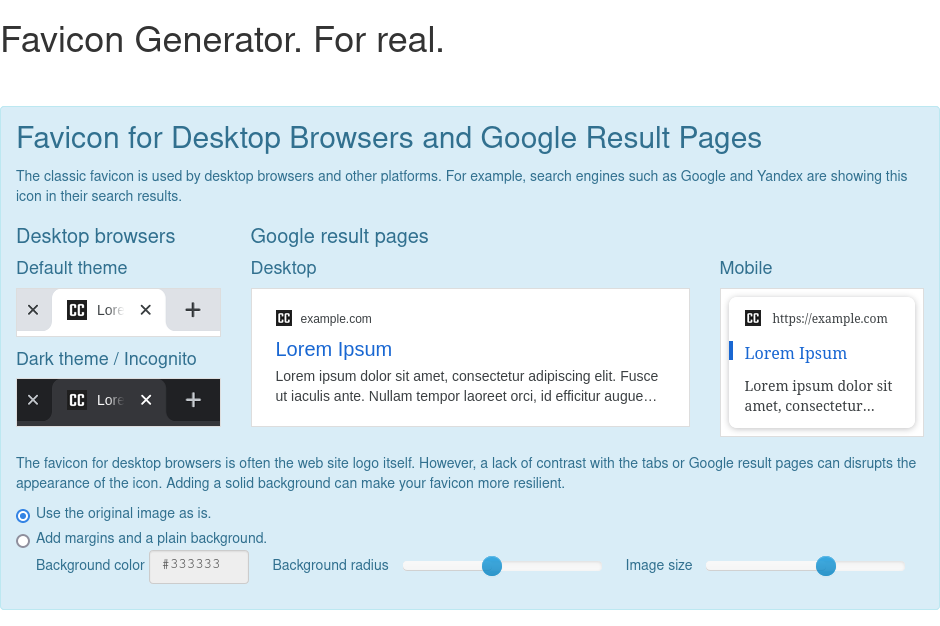
These options are not important unless you want to target those specific devices.
If you just want a favicon for standard desktop web browsers, scroll to the bottom and click generate.

After RealFaviconGenerator is done processing your image, click the download favicon package button in the result page. It will download a Zip archive that you will need to unpack.
Unless you want to add everything the tool suggests, you can ignore the generated HTML. Some of the stuff is meant for Progressive Web Applications and Windows tiles support.
Setting up Favicon in Next.js
Start by putting the following files that you extracted from the archive inside public folder:
apple-touch-icon.pngandroid-chrome-192x192.pngfavicon.icofavicon-16x16.pngfavicon-32x32.png
Next, you need to choose where to import the favicon files in your Next.js project. Although there are multiple options, it’s best to do it inside _document.jsx file and use its special Head component.
import { Html, Head, Main, NextScript } from 'next/document';

export default function Document() {
  return (
    <Html lang="en">
      <Head>
        <link rel="icon" type="image/png" sizes="32x32" href="/favicon-32x32.png">
        <link rel="icon" type="image/png" sizes="16x16" href="/favicon-16x16.png">
        <link rel="apple-touch-icon" href="/apple-touch-icon.png" />
        <link rel="icon" type="image/png" sizes="192x192" href="/android-chrome-192x192.png">
      </Head>
      <body>
        <Main />
        <NextScript />
      </body>
    </Html>
  );
}
The Head used in _document.jsx is a special component that you only use for things that remain the same in every single page of your site. That’s perfect for favicons.
Don’t use it for page titles, meta tags and so on, use a SEO component for that instead.
You don’t need to link the favicon.ico if its placed in the root of your website and called exactly in that name. Browsers will load it automatically in this case.